Website powered by

Blender addon - make any character compatible with the UE4 Mannequin

News / 02 May 2022

Hey everyone. 

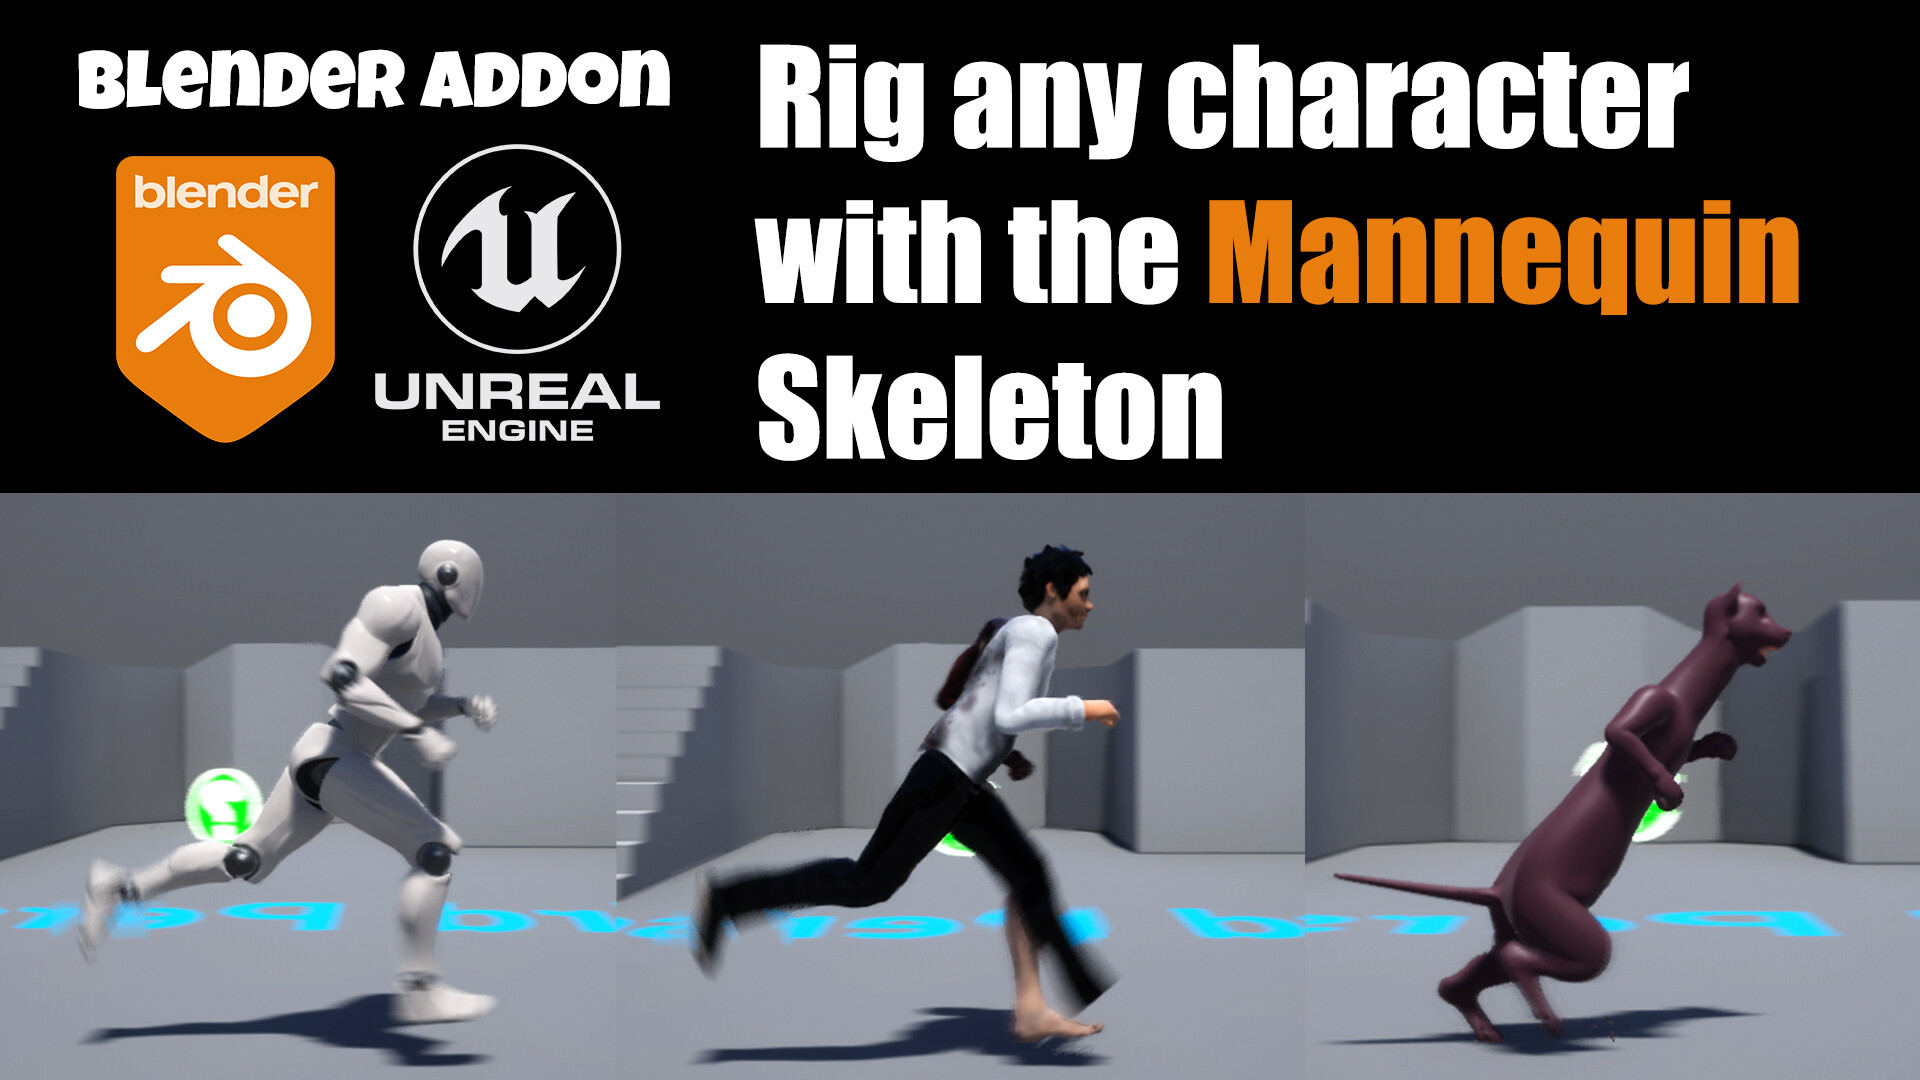
We just released a new tool for Blender. It allows you to make any humanoid character compatible with the Unreal Engine Mannequin rig. 

This opens up a lot of possibilities for reusing the Mannequin's animations (including the many free and paid animations available on the Unreal marketplace.)

The tool is part of our Game Rig Tools addon as a separate Unreal module. 

Check out the teaser video:


Find all about the new features:

https://www.youtube.com/watch?v=uH52niTccLULet

Get the addon now from the ArtStation Marketplace:

https://www.artstation.com/a/6898925

Let me know if you have any thoughts, ideas, or suggestions!

Best,

Todor / CGDive

Blender Rigify Mini Tutorials #1

Tutorial / 09 May 2020

Heya,

I've been working on a tutorial series about Blender's Rigify (free addon). Basically it's a pretty awesome automatic rigging system. The only problem is that it takes some effort to figure out how to use it properly. That's why I created the tutorials. Part of the course is FREE and it will teach you how to rig almost any character with ease. 

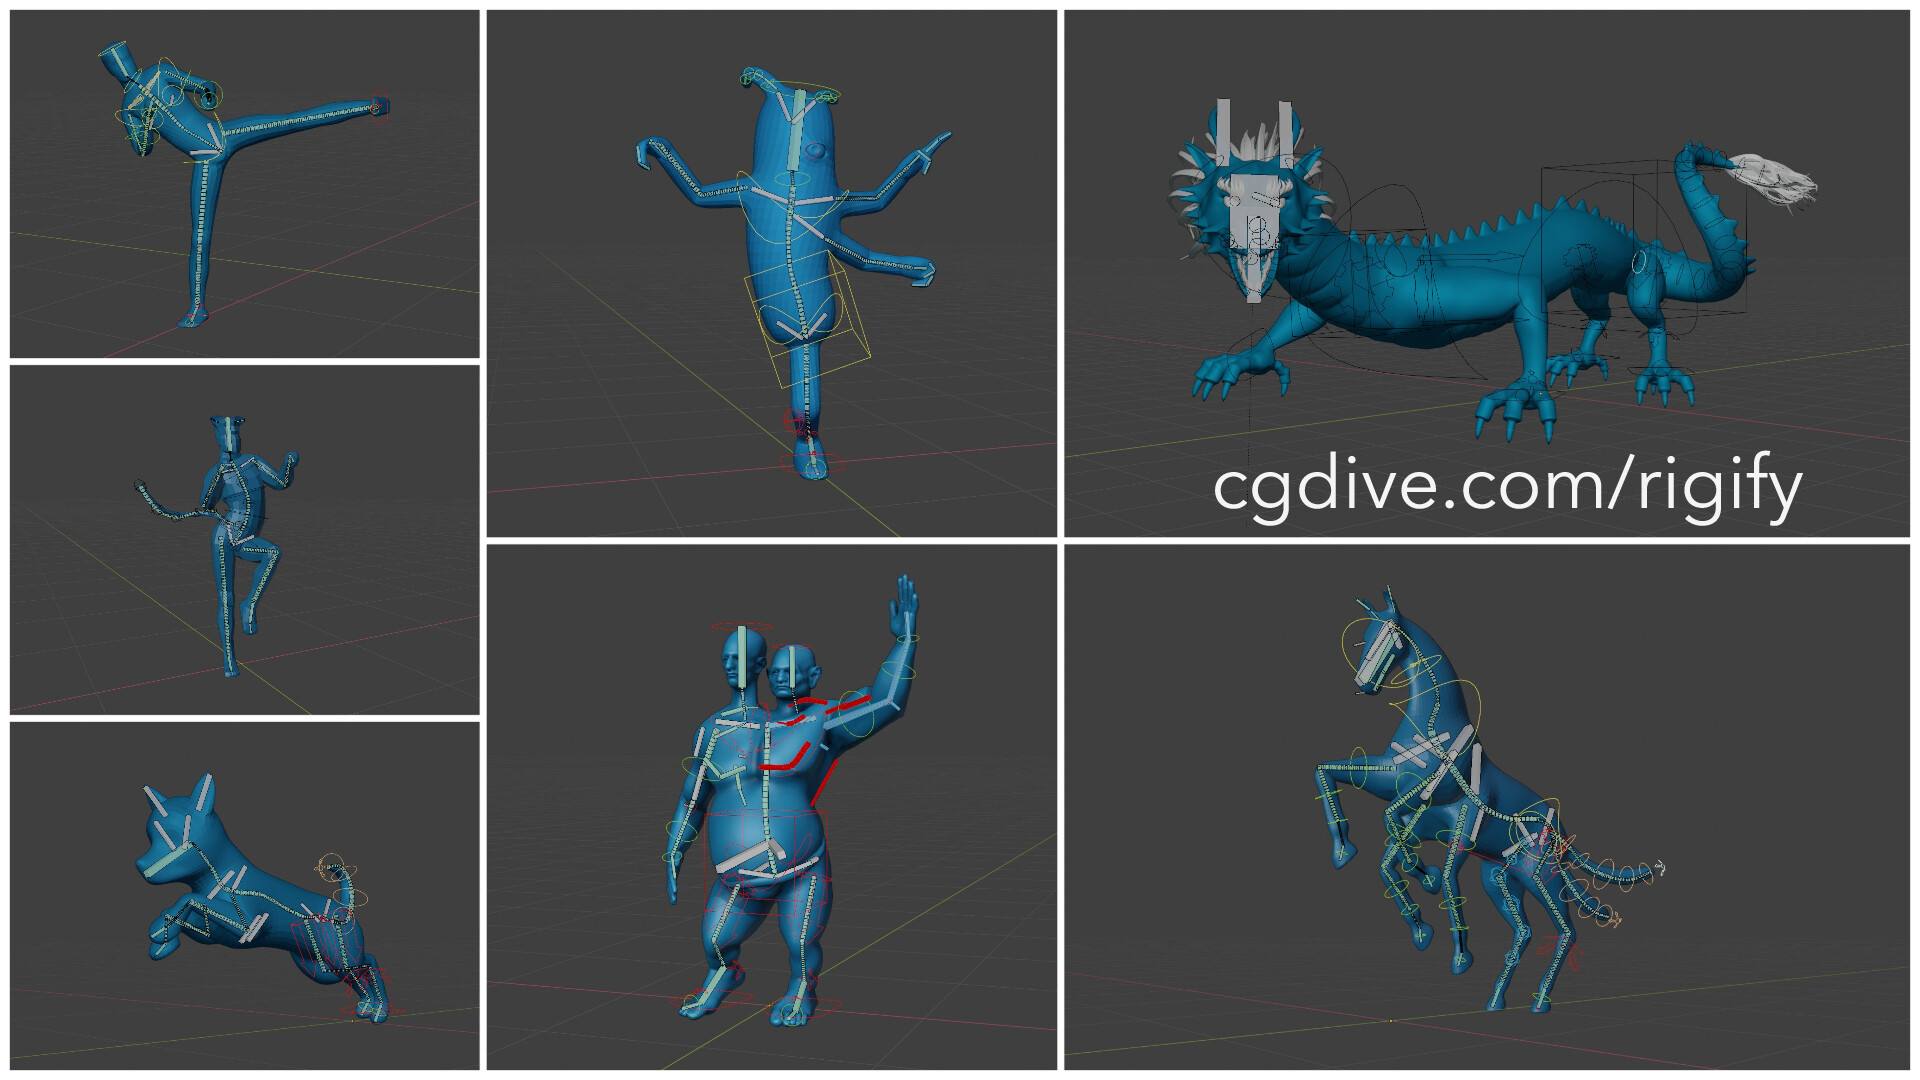
Check out some of the characters I rigged with Rigify for the course:

If you want to know more I'd suggest the following links

Intro Video || Rigify Course on the Artstation Market place || Course HUB page (all info in one place)


Below I am posting 5 fun little mini tutorials I made to promote the course on social media. I am working on more of these.

EDIT: I originally wanted to post them as videos but it didn't work so here are links to the tweets I posted earlier. That's unfortunate since twitter video compression is terrible. I'll try to post them properly later.

Rigging legs with Rigify

https://twitter.com/ToshiCG/status/1254786127958953985 

Heel controls in Rigify

https://twitter.com/ToshiCG/status/1255865276534407168 

IKFK switch

https://twitter.com/ToshiCG/status/1256244531265015809 

Quickly rig character's arms

https://twitter.com/ToshiCG/status/1255484650044248067

Common Issues: Rig Size

https://twitter.com/ToshiCG/status/1256583173900603393 


3d scanning experiments in Meshroom 2019 (Photogrammetry is easier than I thought!)

General / 19 May 2019

I just added a few Photogrammetry experiments to my portfolio. This blog post is meant to encourage people to give Photogrammetry a try. If you already know a lot about the subject you may not learn anything new here. :)

Photogrammetry is basically 3d scanning using still images. You take a bunch of photos of a subject from different angles. The "subject" can be a rock, a sandwich, a human or anything really. Then you feed those images into a Photogrammetry software. The software does all sorts of sophisticated calculations and (hopefully) produces an accurate 3d reconstruction of the subject.

5+ years ago I attempted to do image reconstruction with the now discontinued Autodesk 123catch . I couldn't obtain good results back then so I let it go. I was still interested in the topic tho so I kept consuming relevant information.
And a few months ago I stumbled upon a software called Meshroom . Supposedly, it was not only free but also produced high quality results and it was very user friendly.

That sparked my interest again. I ran a few quick tests. You can see what I came up with in the video below. The assets aren't perfect but I thought they hold some promise. I have also shared the 3d models for free on gumroad if you're interested. The links are at the end of this post.


I am quite excited about photogrammetry. With this blog post I am hoping to inspire other artist to give it a go.
So here are a few assumptions that were holding me back and why they were wrong.
"you need expensive gear"
Not really. You can get decent results using a more or less recent smartphone and PC. My phone and my PC are not top of the line but they did the trick. With better gear you can probably produce better assets but it's not a showstopper.

●"you need to take hundreds of photos of the subject"
When I ran my experiments I realized you can get surprisingly good reconstructions with few images. Sometimes as few as 10 or so. This wall was recreated from just 12 photos. Nevertheless the software was able to figure out the shape of the blocks and even the spaces between the blocks.


●"operating the Photogrammetry software is difficult"
Meshroom is extremely easy to use. Create a new project, throw some images in there, click Start. Then wait a while.

●"the reconstruction process takes ages"
most of my tests finished within an hour. Granted, I haven't been using a ton of images and huge resolutions. I read that as the number and resolution of the images goes up, computation time and memory consumption goes up exponentially. Nevertheless I feel like I can produce some really nice models even with limited resources. Also my PC stays responsive throughout the computations. So I can do other work while Meshroom is doing its thing.

So in a nutshell I felt like the process would be difficult and inaccessible. But that wasn't the case at all :)


Failures

The video above shows my first "successful" tests. "Success"means that Meshroom was able to make sense of all my images and the reconstructed 3d model was close enough to the real thing.

I also had a bunch of failed projects. "Failure" means that Meshroom was unable to connect the images I fed it. The computation either stopped with an error or subject was only partially reconstructed or the quality was very poor.

I noticed a common theme with my failed projects. Almost all of them were shot indoors. I am pretty sure the main reason for this is ..."light"! I don't have any photography equipment at my house so my only available light sources are windows and household lamps. They produce harsh shadows and highlights. Especially when taking a picture where the window is visible you get backlighting. I found that Meshroom is unable to reconstruct from those images.

Of course there is a solution to this problem: Photography equipment. A couple of softboxes will probably enable me to shoot at home! I am planning to purchase some in the future. Until then I won't be shooting at home. It's a shame because I'd love to scan a lot of the food from my fridge :P


So now I am hooked on photogrammetry! I walk around and literally go "Wooo!" when I see a nice rock laying on the side of the road. :)

I'll definitely write another blog post on this topic. Today the weather was nice and cloudy and I had some time on my hands. So I went out and came back home with a few hundred photos worth of scanning material. I have a dozen new projects cooking as I write this.

I may also write about how to get good reconstructions. For now here the most important tips I can give you:

  • -take plenty of images but don't overdo it. 10~50 images is great for your first experiments
  • -shoot in highres
  • -make sure the images are sharp
  • -make sure each picture you take overlaps with the one before it (around 40% overlap is recommended)
  • -if you're a beginner shoot outside rather than indoors
  • -cloudy, overcast days provide the ideal lighting
  • -highly reflective and/or transparent objects are almost impossible to scan. Avoid them
  • -rocks and stone walls make for a great subject
  • -use Meshroom. It's free, intuitive and produces good results


Here are a few free 3d models that I share on gumroad. I'll be uploading more later.

https://gum.co/Cobblestone_Wall

https://gum.co/wall_photogrammetry

https://gum.co/rock_photogrammetry

https://gum.co/Street_Tiles_photogrammetry


Hope this post has been informative and interesting.

Got something related to photogrammetry that you want to share? I am interested so let me know!    


100+ sales, 1000+ free downloads! An overview of the different CG marketplaces

General / 01 March 2019

For me February was the month in which I released of my first digital product. Oh and also the month of a bunch of late-nighters due to a job with ridiculous deadline. But that's another story.

So around the beginning of February I released my "Lips Detail Alpha Pack", which allows digital sculptors to detail CG lips in minutes/seconds. I have no prior experience selling anything online so I didn't know what to expect. I went with the "scratch your own itch" approach to product creation. Meaning, I really wanted a collection of alphas like that for myself but I couldn't find any. 

Anyhow, I was pleasantly surprised that the alphas did sell. Not untold quantities but I think 100+ sales in a month is not bad for such a niche product.

I also released a free "lite" pack which has been downloaded over 1000 times. That blows my mind. Can't wait to see my alphas used in other people's' work! 

I submitted the full pack to several marketplaces to "see what happens" :) Here is what happened. Hope this is useful to people thinking of selling their own CG content online.

The marketplaces I sell on are Artstation, Cubebrush, Gumroad, Flipped Normals, Blender Market.

Artstation
By far the best performing marketplace for me. Also the easiest to sell on. You can start selling with a free account and there is no screening process. The profit margin is pretty good at 70% with a free account. With a PRO account it goes up to 80%~95%. But more importantly artstation makes it's crazy simple to find extremely targeted audience. Everyone who is into art is here. You can also post related images in your profile to get the attention of potential buyers. 

I invested a portion of the artstation profits into a PRO account. It was a no-brainer purchase considering the improved earning potential and all the other benefits a PRO account gives you.

Cubebrush
My number two in sales. I was completely unfamiliar with this marketplace. While I had some expectations for artstation, I had none fore Cubebrush. So I was happy when the sales started rolling in. You can feel that the people running the site are passionate and motivated to help artists improve their businesses. They hold webinars giving tips on how to advertise and promote your content.

Gumroad
Gumroad is a bit different from the other marketplaces I mention here. It's less targeted towards digital artists. There is less community/social stuff. While the other online stores try to promote your stuff, Gumroad does very little promoting on your behalf.
So basically with Gumroad you have to do your own marketing to make something happen.
On the other hand Gum gives you by far the highest royalties. The $XX+ pricing is a clever idea and people do pay you more then the minimum ask price. I've had people paying double or paying 5 bucks for the free/lite version of my alphas. Crazy!
In addition Gumroad enables you to do basic email marketing even with their free plan. Paid plans give you even more features. This is pretty huge if you think of building long term relationships with your clientes.

Blender Market
The blender market is a solid marketplace targeted towards Blender users. I did not make a lot of sales there but that makes sense since I'm selling a niche product on an even more niche market. 

Flipped Normals
The guys running Flipped Normals are really cool! I only made a few sales there but I think the site has a lot of potential to grow. To be honest the Flipped Normals' marketplace feels a bit clunkier than other sites. I hope it will keep developing!

So that's it. There has never been a better time to sell a digital product and make the work of your fellow artists a little bit easier.   

Test post :)

General / 22 February 2019

Nothing interesting yet, just testing blogging on Artstation.